Tiny House Follow-Up: Improvements
Published on 24th of October, 2020
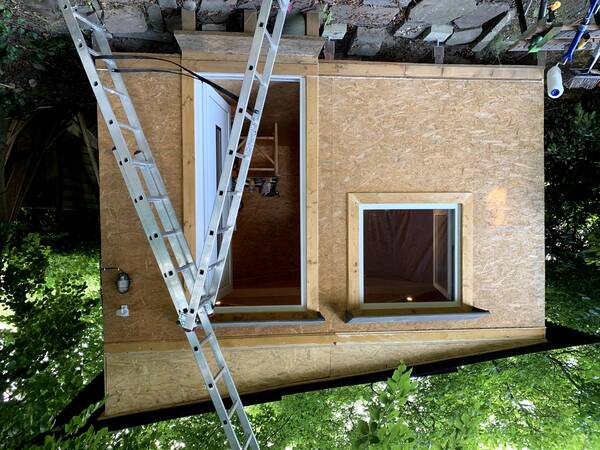
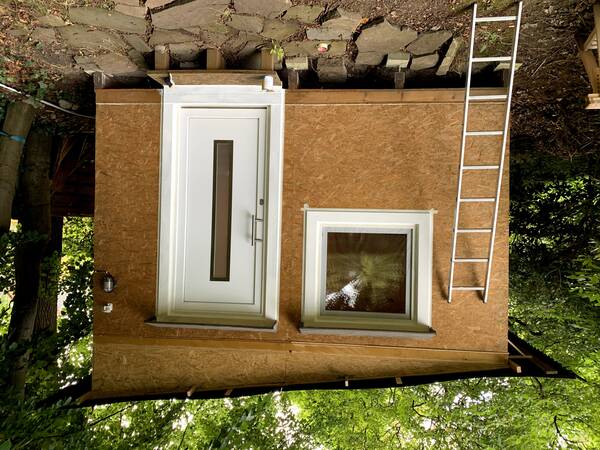
During the summer of 2018, which is about two years ago now, I built a little structure in our garden which could be classified somewhere between a garden shed and a tiny house.
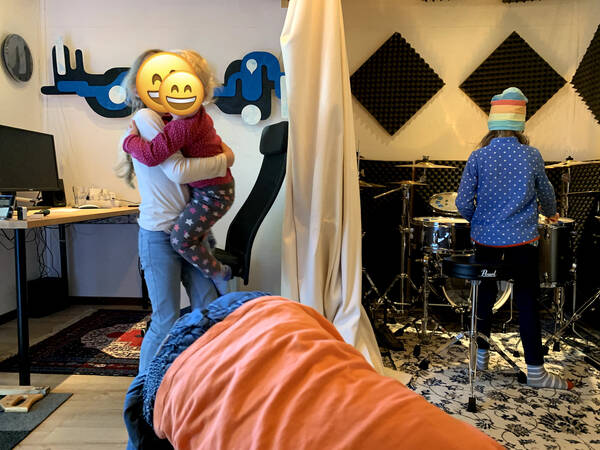
The initial plan was to have a noise-reduced place for me to practice playing the drums. It worked to a degree, but several months in, two problems presented themselves. First, one of our neighbors, who lives a few houses away from us, turned up a few times and aggressively complained – apparently her ears were working a little too well. As she decided to vent her anger by storming into our garden multiple times and scaring my kids, I decided that it’s not worth to go through the trouble of involving other instances just for a bit of playing the drums and solved the problem by getting an electric drum set instead. It’s a good one, the Roland TD17-KVX, and I love it.
The second problem was Hamburg’s harsh winds of winter. As opposed to the long expected novel by fantasy author George R.R. Martin of the same name, our own winds of winter actually manifested themselves and, on a particularly fateful February night in 2019, pulled off parts of my shed’s roof. We were on vacation at the time, but my awesome friend Martin came over to do some emergency repairs.
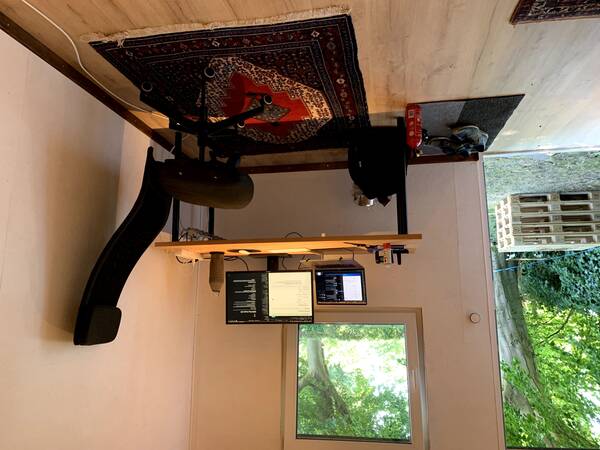
I knew that there was still some leakage from the accident and the roof required and thorough upgrade, but I couldn’t muster up the motivation and time for it. Then, COVID-19 happened and made us all become stay-at-home workers. Therefore, the need for a room outside of the house full of kids’ noise grew and the motivation to restructure the shed and make it into a nice home office appeared.
What I Did to the Tiny House
- Remove the roof
- Put up a completely new roof
- Paint the inner walls
- Lay laminate floor
- ... a few small improvements including lighting, drum sound dampening, a new underground ethernet cable, security camera and similar things
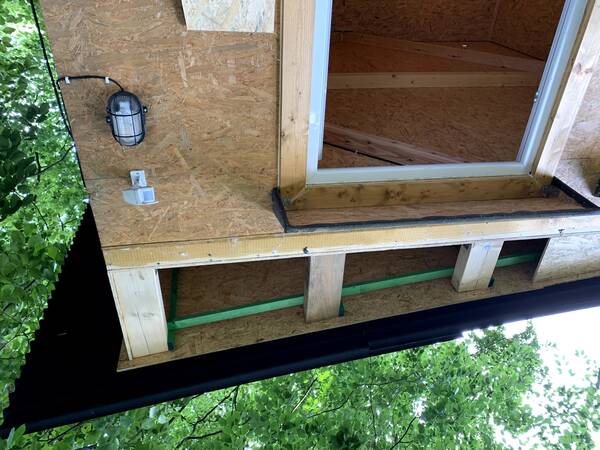
First of all, I had to correct the electricity situation. For the last two years, the hut used to be connected to an outdoor outlet which is part of a circuit that’s unreliable during wet weather for some reason. Basically, whenever it rains, the fuse flips off and the hut is without electricity.
After a bit of research I chose an easy way out: find a different circuit, drill through the wall and install a new outlet outside.

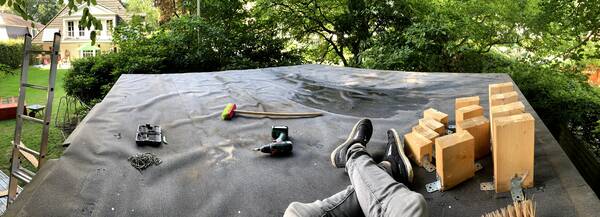
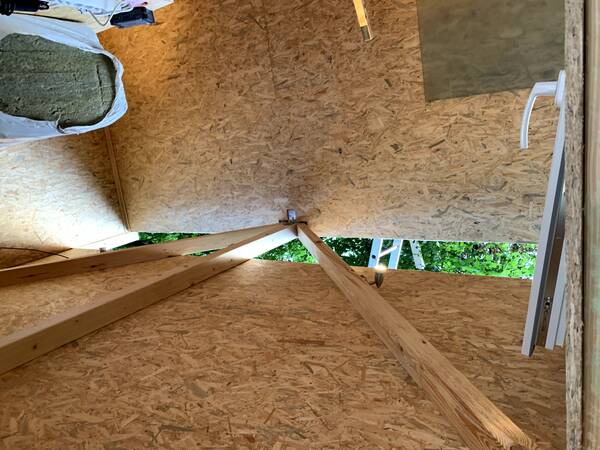
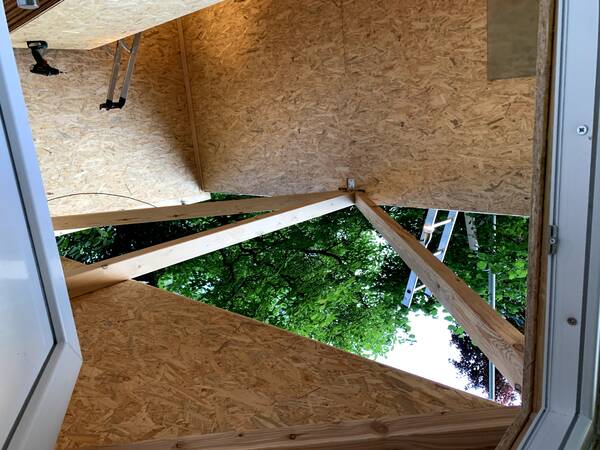
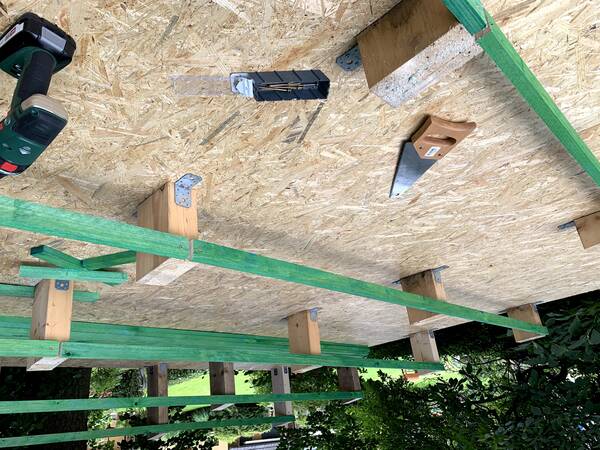
Remove the Roof
Destroying things can be fun, but I was dreading this bit. I was fearful about what I would find out. How deep the damage went.
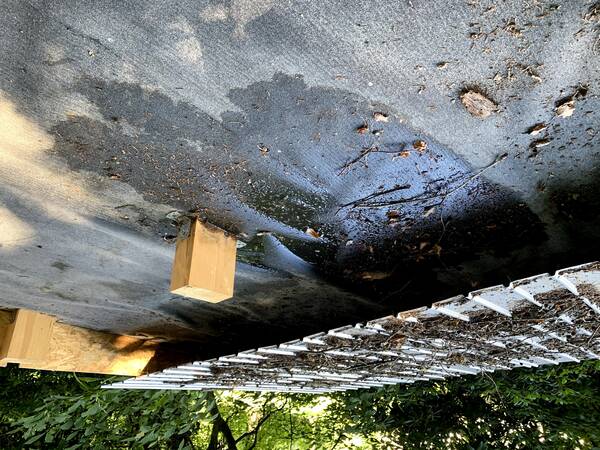
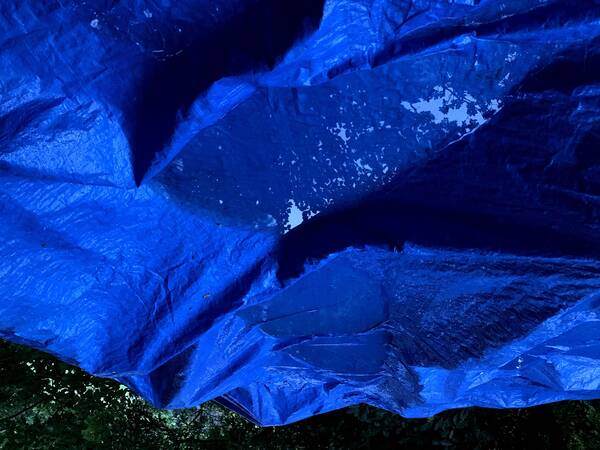
I was expecting a puddle of water, of course. So much dirt, though!
I definitely learned that Bitumen isn’t perfect, and that you should probably conceal a flat top like this a lot better than just by using Bitumen. Water that drips through the roof will form puddles and stay until it someday evaporates. A weak point for sure. Makes sense.
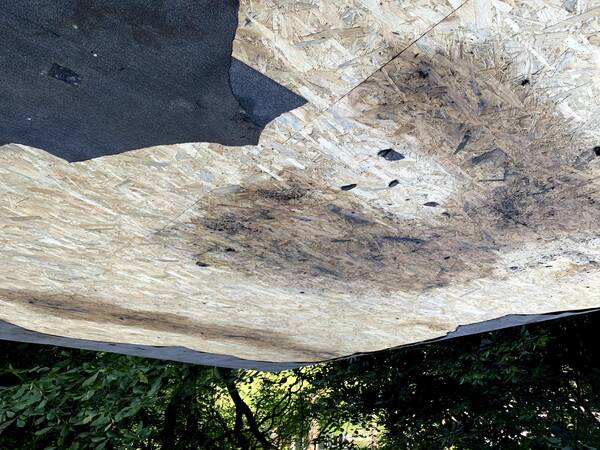
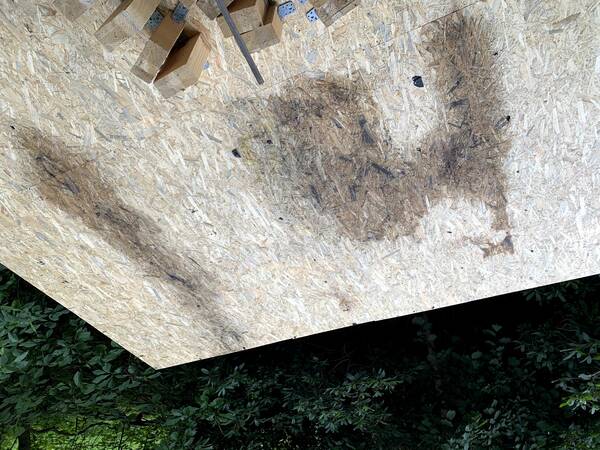
Underneath the upper OSB layer I used rockwool for insulation, which works fine. But here you can see that it also absorbed a bunch of the rain water. And I was surprised and appalled at the amount of tiny insects that came out of it. Not cool, little crawling buddies! There’s enough nature around my hut!
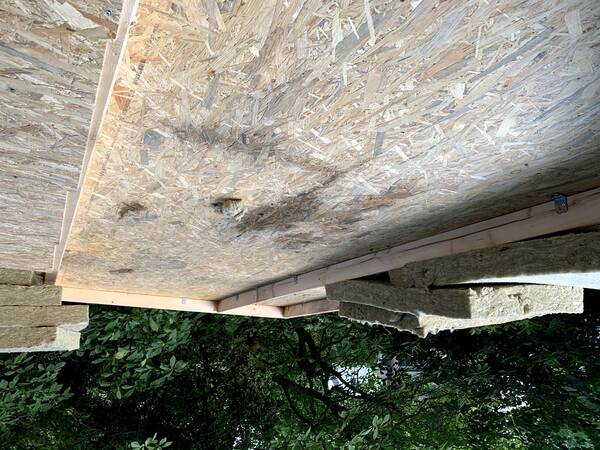
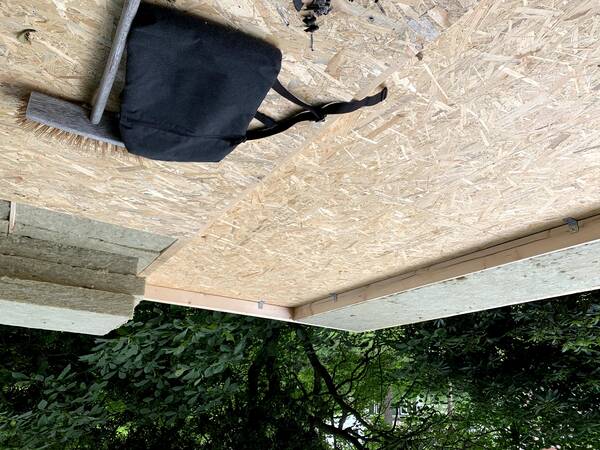
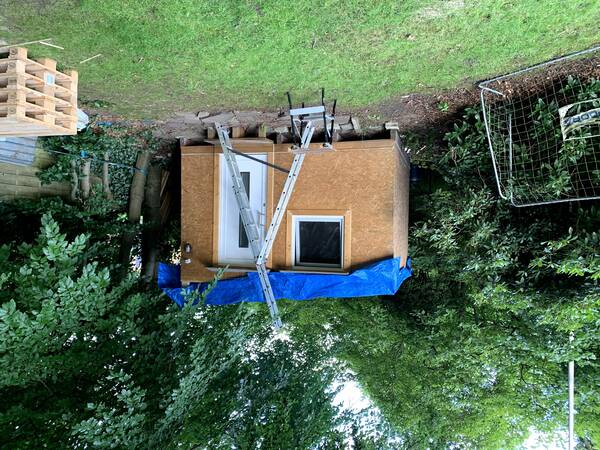
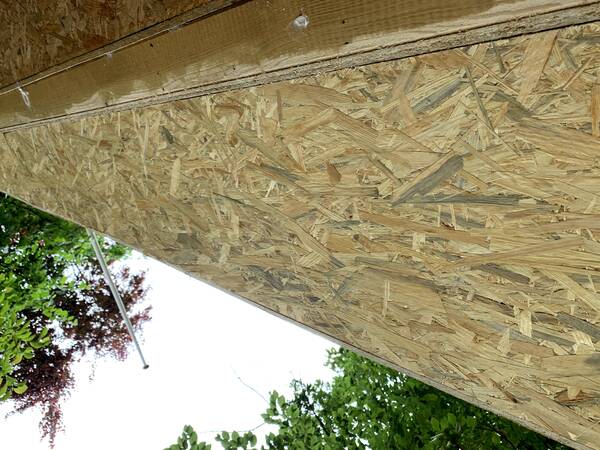
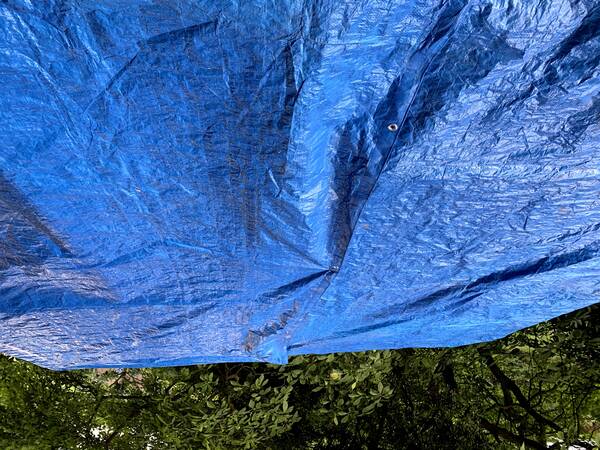
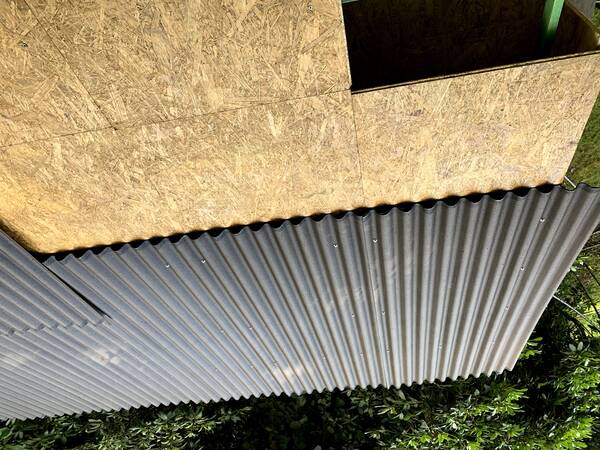
Improve the Roof
But as we are still in Hamburg, the rain was inevitable. It’s August at the time of doing this, but that certainly doesn’t help. Nature is happy, which is more important. But I need to get creative and hope for the best.
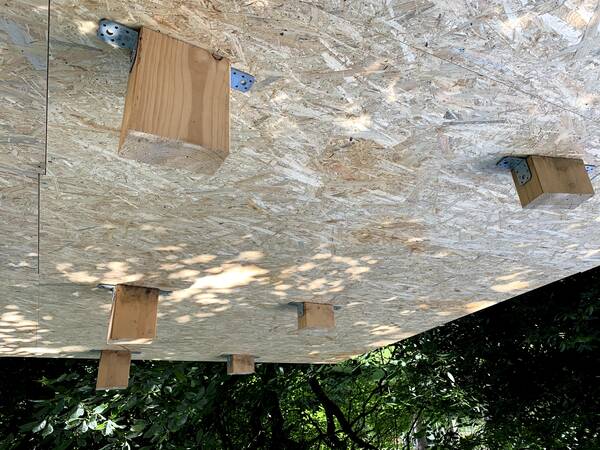
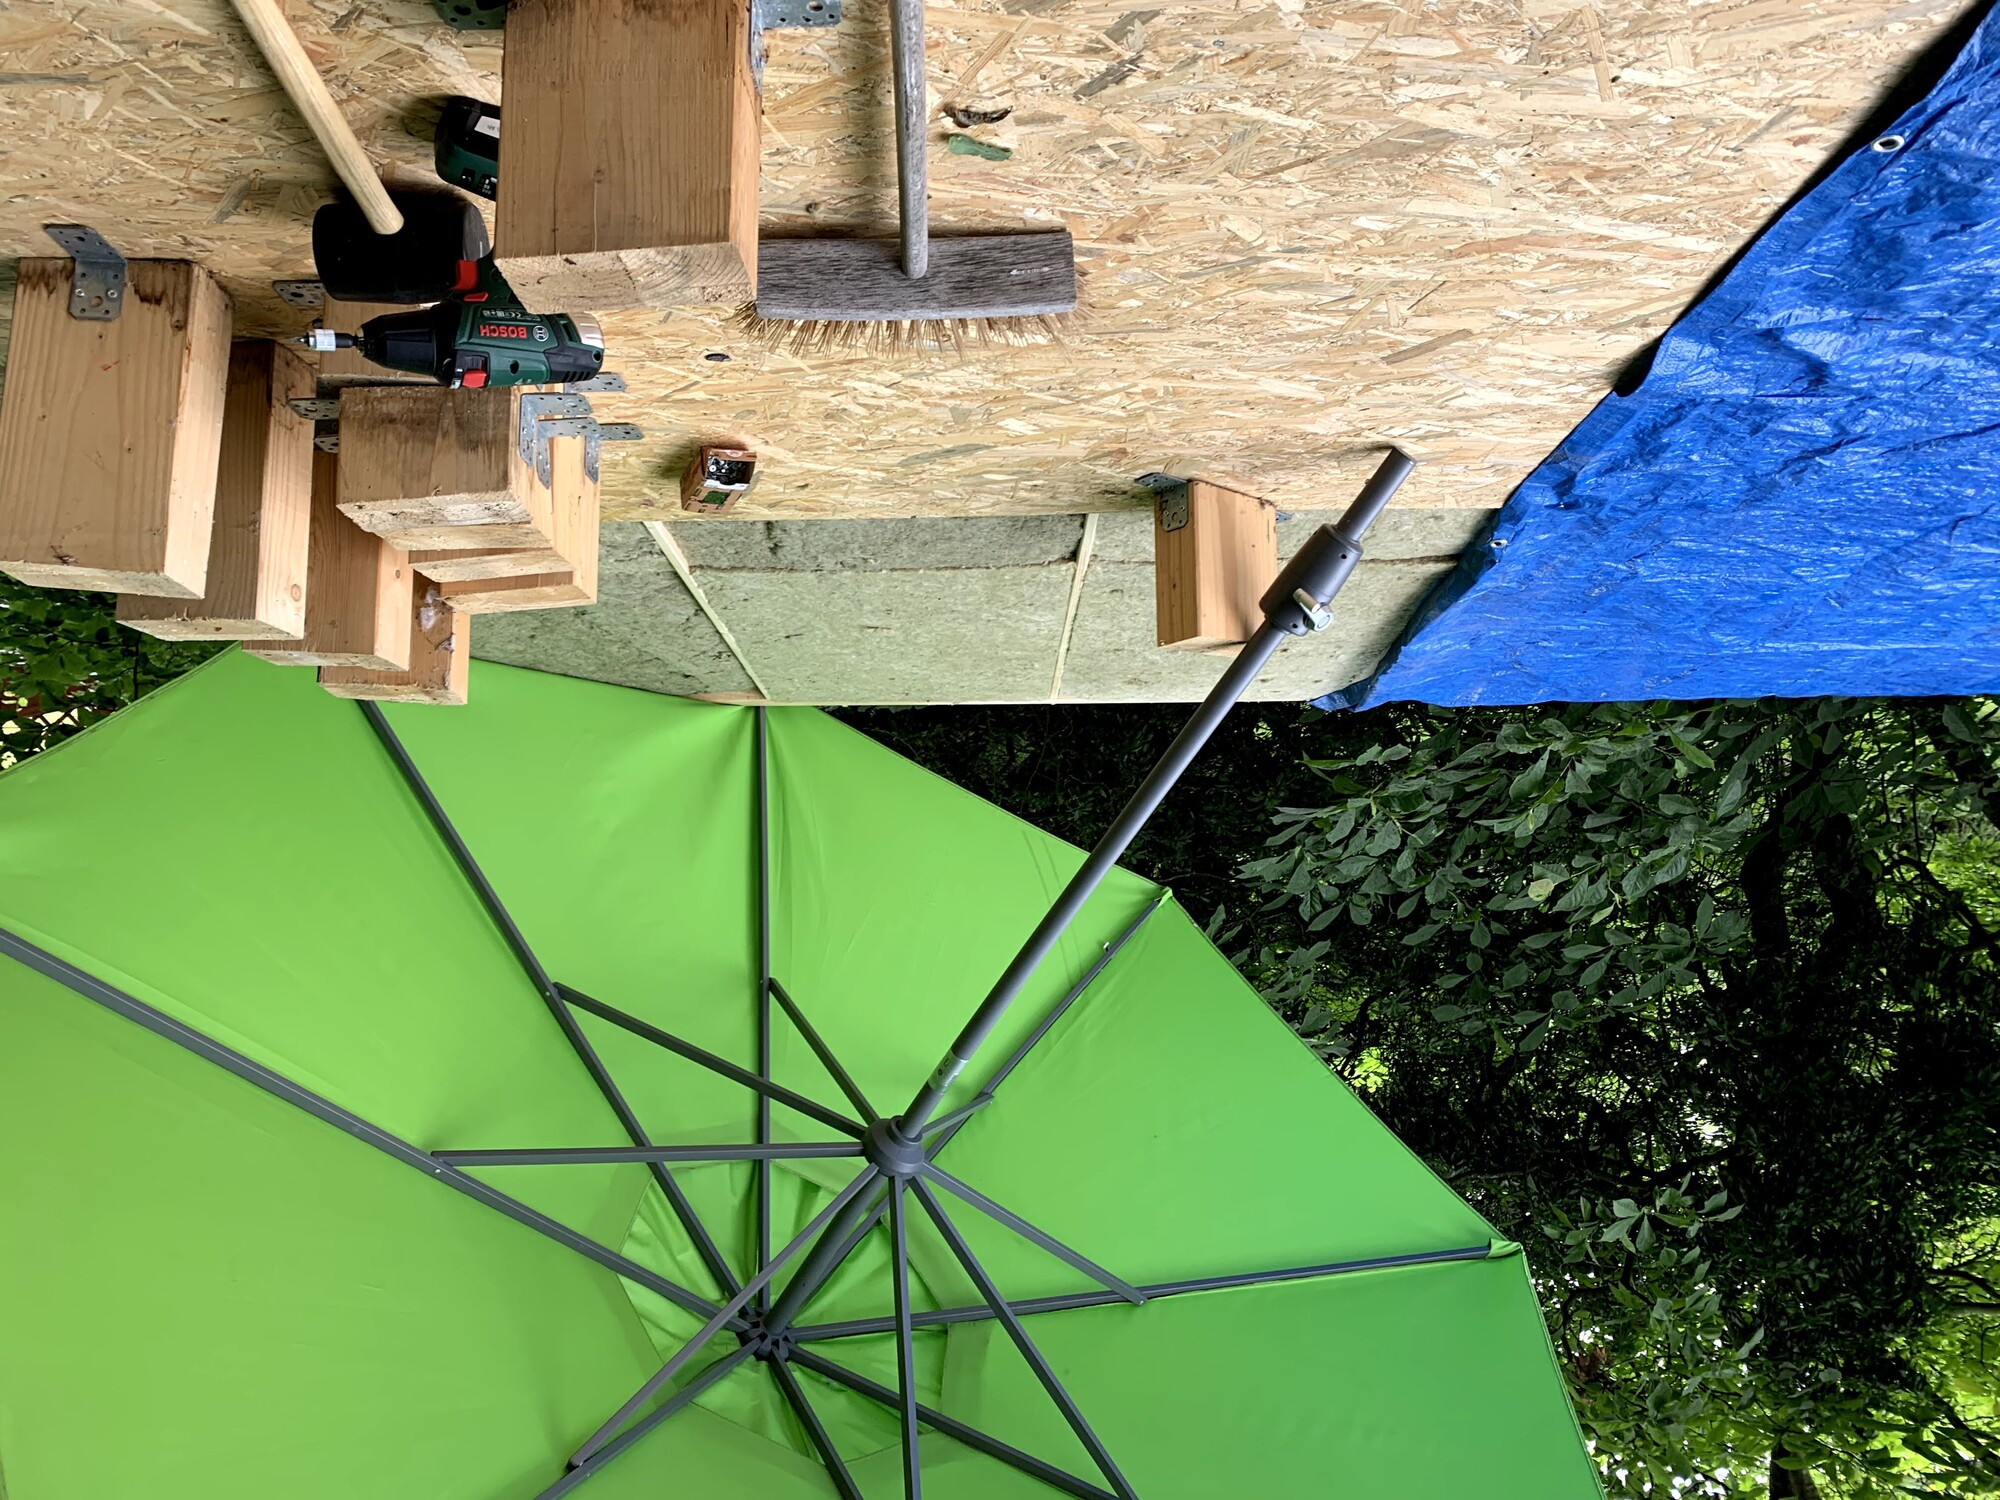
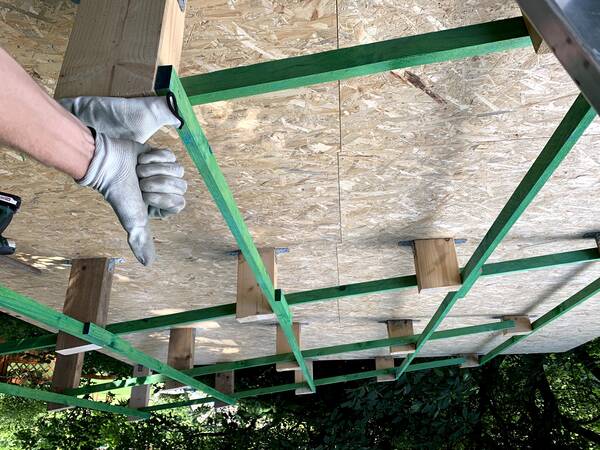
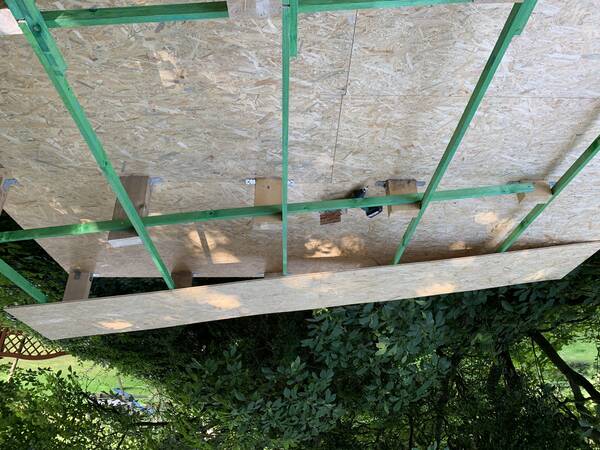
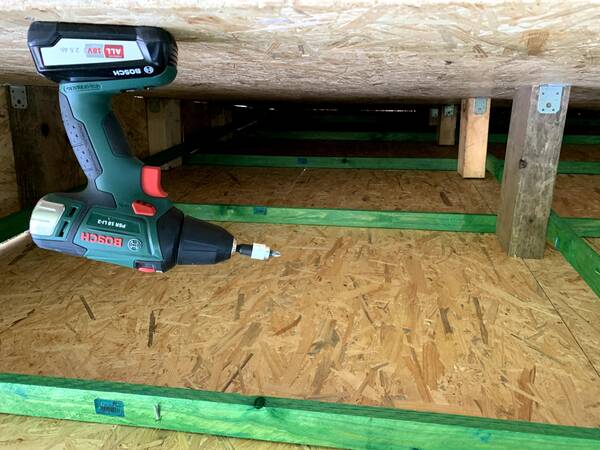
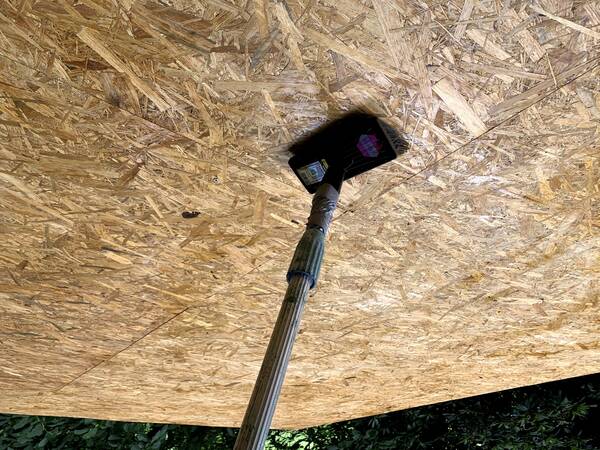
I think one of the problems was the 3.5 degrees at which the roof was planned. So I changed this to about 7 degrees, reused lots of the pillars and just made two new rows of higher pillars. Maybe the water will be quicker to run off the side as opposed to the before times.
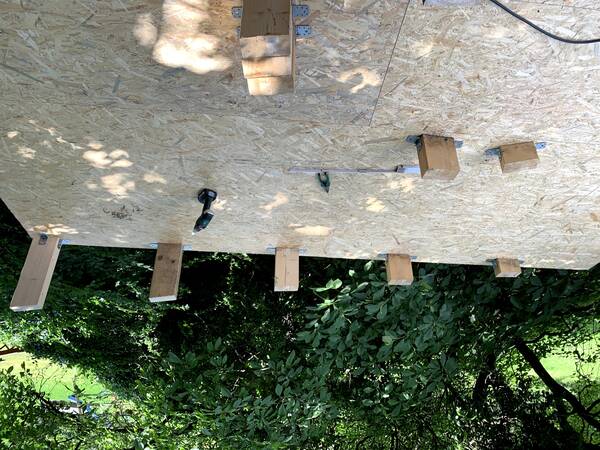
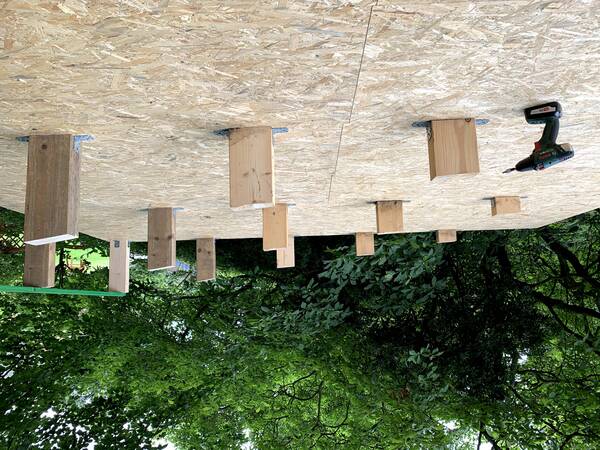
In order to make the roof more wind and storm proof, I decided to connect the pillars with each other before taking the next step. These water proof green planks were recommended for that task.
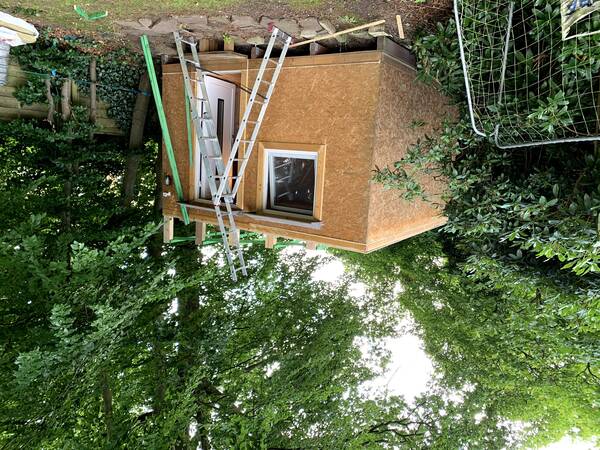
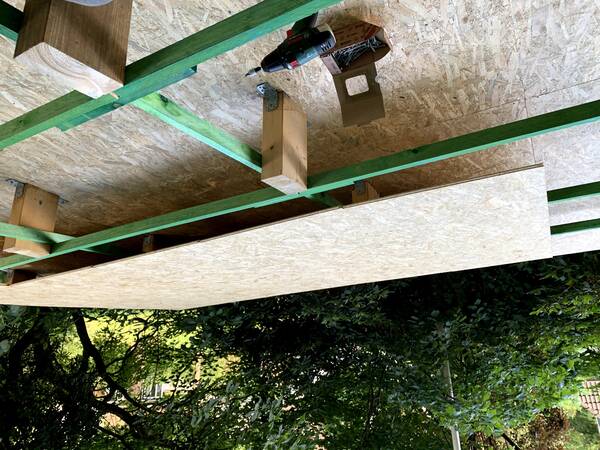
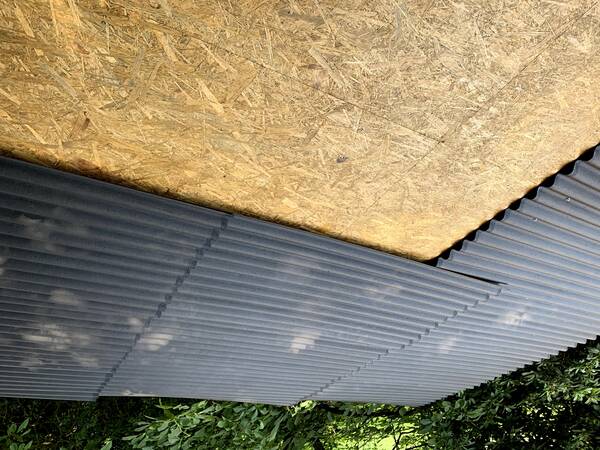
This has the additional advantage of being a lot quieter when stuff from the trees up top fall onto it. There’s a beech tree above it which drops beech nuts. Those things are loud when hitting metal sheets! Not any more.

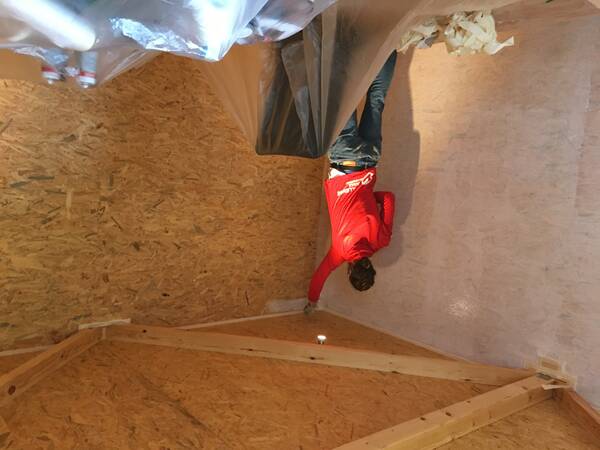
The Inside of the Hut
As you can see, all the OSB doesn’t make it feel as cozy and homely as you might like. Also, after a while the boards stink of those chemicals which are used to stick the wood strands together. Can’t be healthy to spend that much time around it. So, as part of converting it into a home office of sorts, I decided to paint the walls and ceiling.
The walls would get a few layers of white paint because I had lots left over from renovating my office earlier in the year. For the ceiling, I bought some special see-through stuff to keep the OSB look inside a little bit alive.
A New Floor
Now, I am walking around barefoot at home usually. When I initially built the hut two years ago, I prepared the OSB floor a bit for that as well, but it just didn’t feel right. I always wanted to keep wearing shoes inside. And that’s not as comfortable when working, I think. So, a better floor would solve that! As with everything here, it was a first for me to lay laminate floor, but watching a few YouTube videos which had instructions on the topic were enough to get going. Also, that stuff is surprisingly cheap.
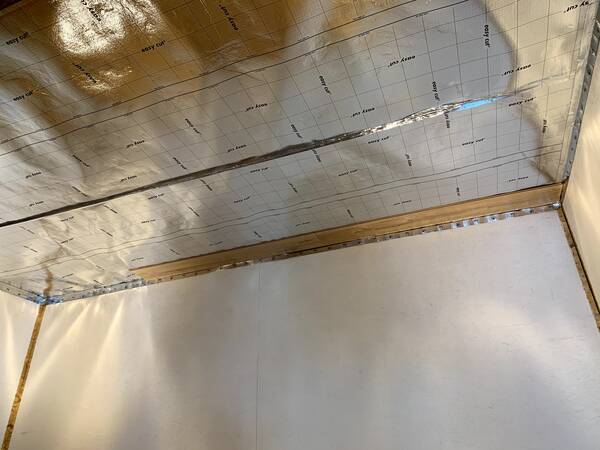

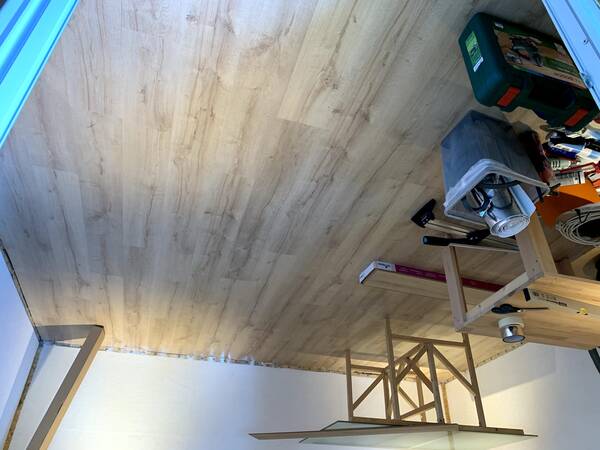
This was also very satisfying to do and created a great result out of not that much of work.
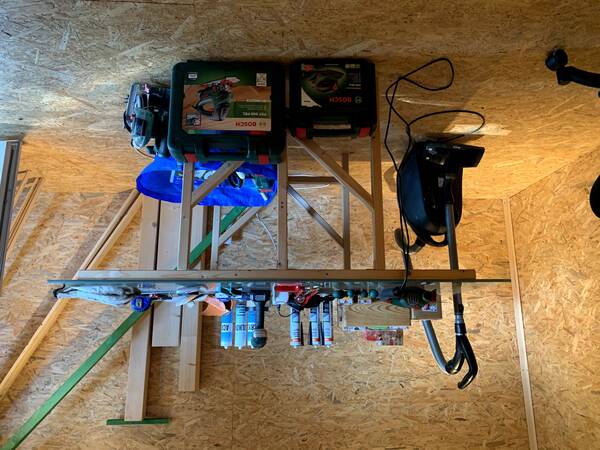
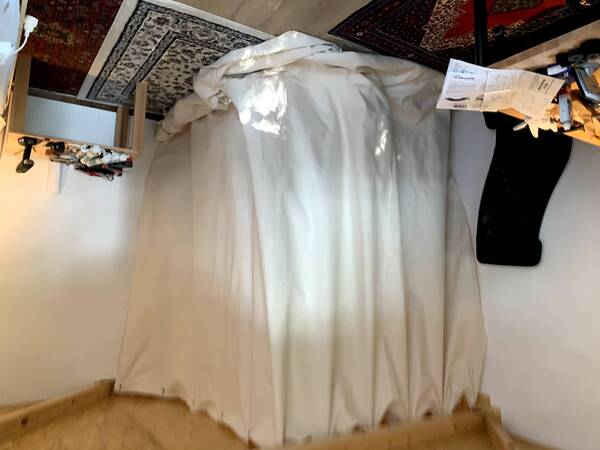
The Little Improvements
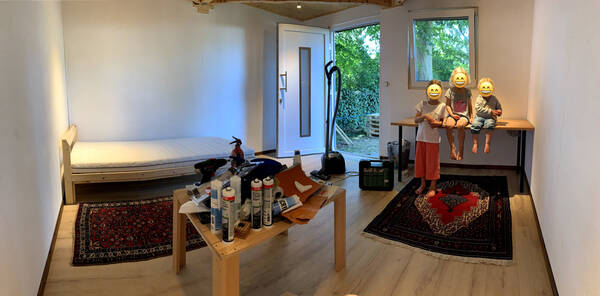
To make it even more homely and practical, I bought a cheap IKEA bed and mattress and put it into the corner. Because having four kids at home and getting work done requires some power-naps. Sometimes, when the nights were especially loud and bad, I even spent a night in here just to recharge. Works like a charm!
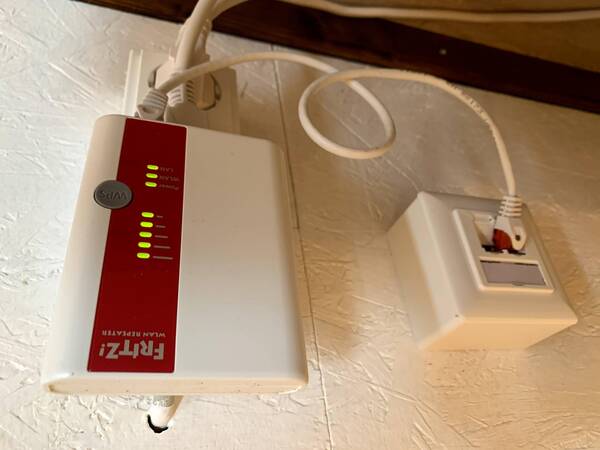
One thing was a bit tricky, and that’s been the internet connection. The hut is quite far from our kitchen, which has the WIFI router. For video conferencing that’s not good enough. After a few weeks I decided to put an ethernet cable into the ground. Another YouTube search and some good advice from a friend helped to get that done.
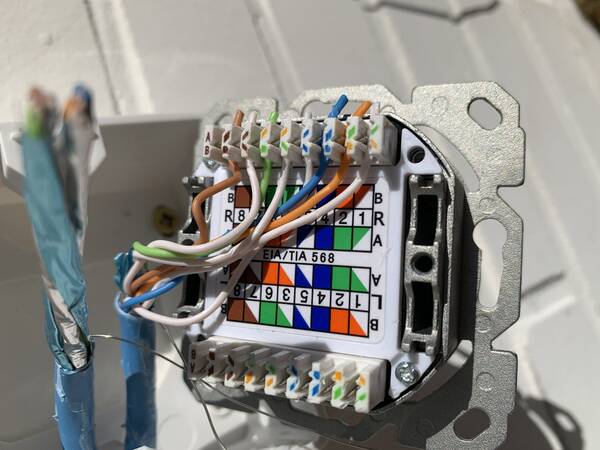
I got a rain and cold resistant cable of 70 meters length. To make sure I wouldn’t someday cut it with the lawnmower, I had gardeners come and dig a small trench for it. That’s the only thing I didn’t do myself, because honestly, I just didn’t want to. 😄
Before I had the cable buried, I put it into a plastic coating as well to give it another layer of protection against the elements. That turned out to be tougher as it sounds. Sophie helped me as we experimented with several options in the garden to push and pull a 70 meter cable through a 50 meter tube. In the end, the trick was to use a hoover to suck a strong thread through it, then use duct tape to connect that thread to the thick ethernet cable, and put industrial grade lubrication around the cable, too. Thankfully we had that lube at home, because it’s part of the world’s best recipe for making incredibly large bubbles. No joke!
Side Note: The Recipe for Making Incredibly Large Bubbles!
- 3/4 of a teaspoon of J-Lube industrial grade lube (get it on Amazon for example)
- 150 ml of Palmolive dish washer liquid (has to be Palmolive Original/Classic)
- 2 liters of cold water
Mix the lube with the detergent, add the water afterwards. Don’t stir too much! Use sticks with thick cotton string to make the bubbles huge.
Over the next few weeks, I hung a little HomeKit enabled camera in the hut so I can watch it from anywhere to see if the hut is still standing. Gives me peace of mind. Also, as the fall began, I put a Netatmo thermometer into the hut, as well as a little electric heater which I connected to a HomeKit enabled electricity outlet. That way I can use my iPhone to see the current inside temperature and activate the heater from wherever. It takes 30 minutes to an hour to get it warm enough to work in the hut when it’s just 5-10 degrees outside. The warmth stays inside for quite a long time, I reckon about 6-8 hours. Meaning the insulation works well enough.
Lastly, I wanted to paint the outside to make it more weather proof as well. There are already two layers of glaze on the wood, but I think some thick paint will make it go through a lot more years. Researched and got the optimum paint, but as it wasn’t a real necessity, those cans still are on the table in the hut at the time of writing this. And now it’s too rainy and wet to paint – I will have to wait until spring to do that.
That’s it! This time I didn’t log the hours I put in or the money I spent on it. But if I had to guess, it’s probably around 30-40 hours and around 1,000 Euros. Not to bad in my opinion. As with last time, the work itself was great enough to do this. Doesn’t really matter that much how often I use it. I think, over the winter I will mostly stay inside the big house, but as the next COVID-19 wave and probable lockdown in Germany comes closer I might need the hut for some deep work time away from the noisy kids who would then have to stay at home all day again. We’ll see!
I hope you enjoyed this little DIY themed post, let me know what you think if you feel like it!
How do you feel after reading this?
This helps me assess the quality of my writing and improve it.

Leave a Comment